It's been about a year since I published my laptop setup guide. Since then, I've tweaked a few more settings and provisioned a few more laptops.
How I set up a new MacBook
In June 2023, Apple released the 15-inch version of the MacBook Air. I was due for a laptop upgrade, and it was the perfect form factor. It's surprising that they never had a "non-pro" laptop with a large screen size.
Native Settings
Everything here is modified within the System Settings app.
Change your laptop's hostname to something unique. A templated name like
yourname-mbpis bound to have namespace collisions.Within the Keyboard section...
Customize the modifier keys (
Keyboard Shortcuts > Modifier Keys). I remap the caps lock key to escape.Go to
Text Replacements...and remove all entries.
Within the Control Center, set
Automatically hide and show the menu bartoNever.Within the Lock Screen section, set
Require password after sceen saver begins or display is turned offtoImmediately. This locks the laptop immediately if the lid closes.Within the Appearance section...
Set
Show scroll barstoAlways.Set
Click on the scroll bar totoJump to the spot that's clicked.
Within the Desktop & Dock settings, set windows to minimize using the scale effect.
Customize the hot corners. Remove the quick note from the bottom right, and add the notification center to the top right. That way, if you're not using a track pack, you can still easily pull up notifications.
Finder
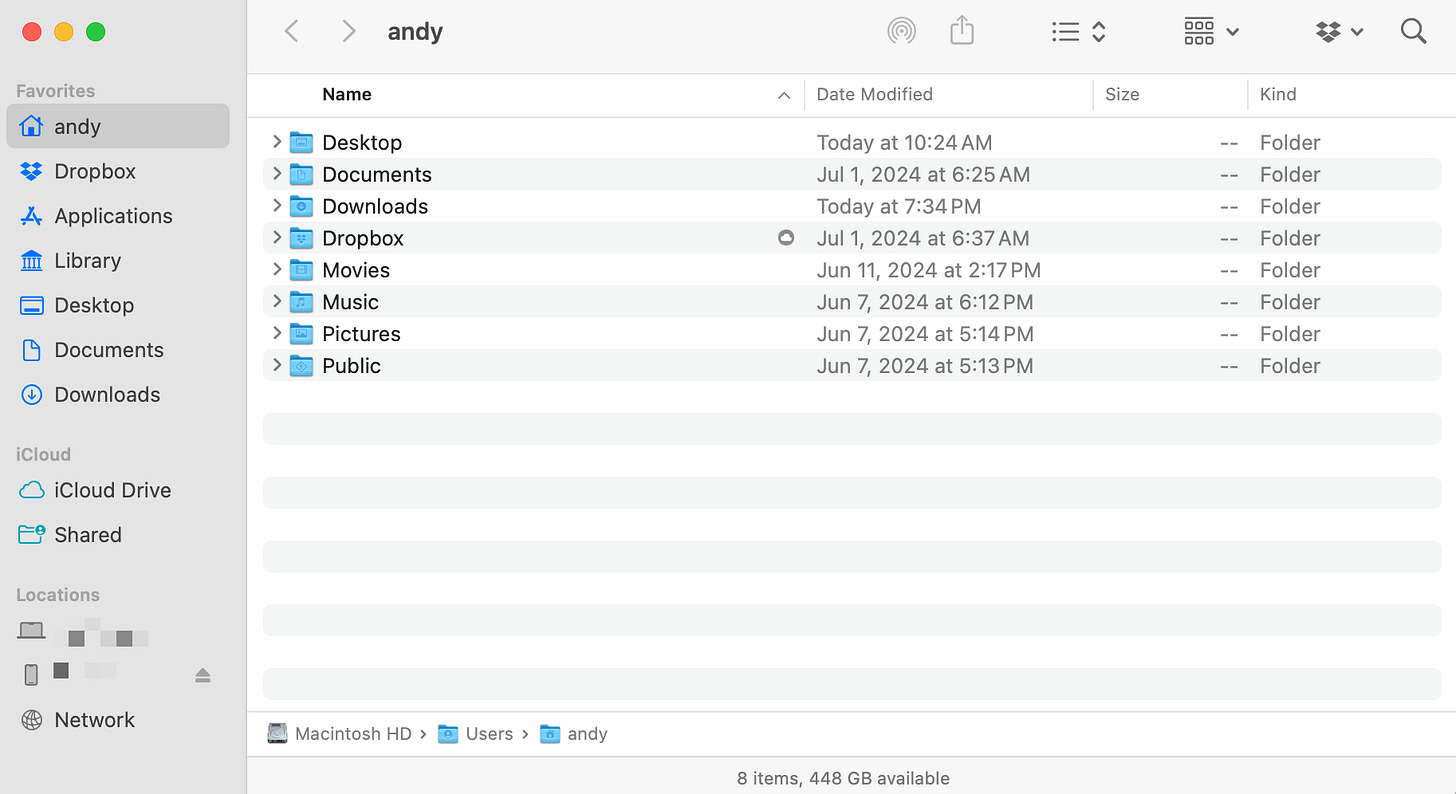
There are a bunch of finder settings. I loosely follow the steps outlined in this video. Just give it a watch and follow along.
For reference, this is what my finder window looks like after it's been set up. You can compare to mine as reference.
Apps
Most of the apps in the previous blog post have stayed the same. However, I have added some extras. I personally pay for all of them, but they have free versions that work great too.
Dropzone 4 to have a place on the menu bar to send items or do quick actions.
Coconut Battery to monitor battery health.
AlDente to regulate battery charge.
UnnaturalScrollWheels to have proper trackpad and mouse scrolling at the same time.
Bartender 5 to organize the menu bar.
And that's it. You now have a perfectly functional MacBook!


